|
In this assignment, we were supposed to follow photoshop tutorials that were either given to us or that we found at follow through with them to the best of our ability. I completed six photoshop tutorials, including the two we had to do. For four of them, I used tutorials that were provided for me. For the other two, I found tutorials to do. Here is the first photoshop project I completed, dash of color:  Here is the original photo: 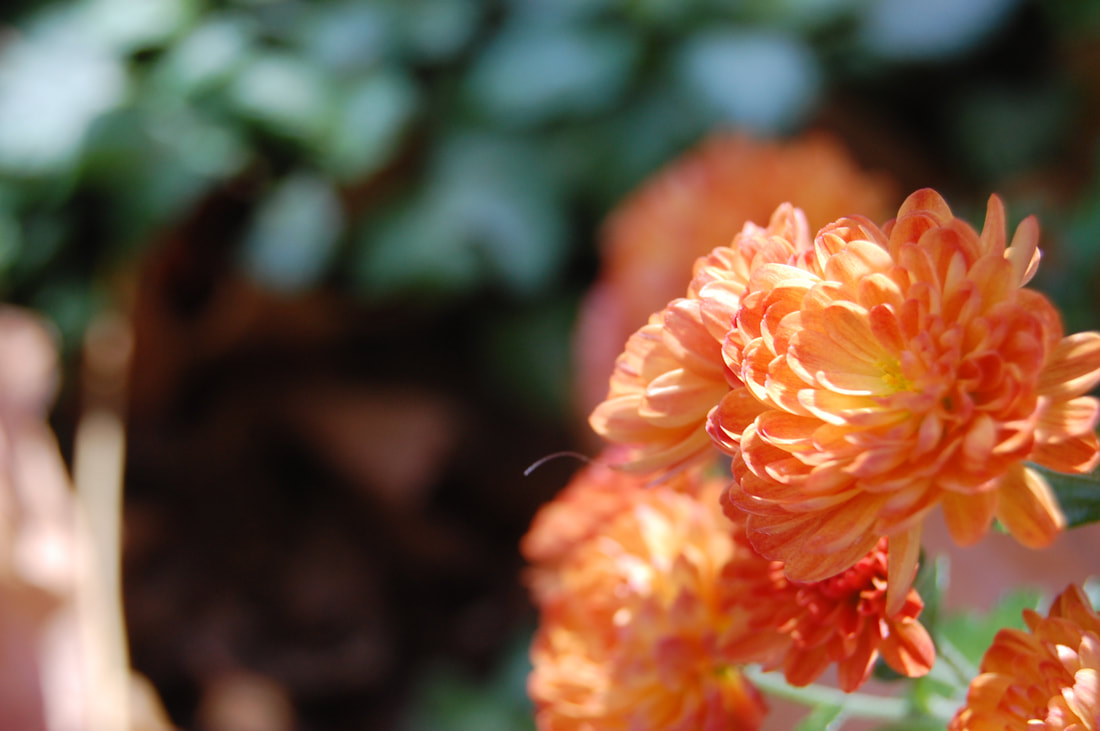 I used http://www.digital-photography-school.com/mono-with-a-dash-of-colour-photoshop-cs2-tutorial to complete this project. In this tutorial, we turned the entire photo black and white and then colorized a certain part of the photograph. I used hue and saturation and the history brush tool mainly in this project. I found this tutorial quite easy because I'd used all of the tools needed before. The next photoshop project I completed made my picture look like a stack of polaroid pictures: 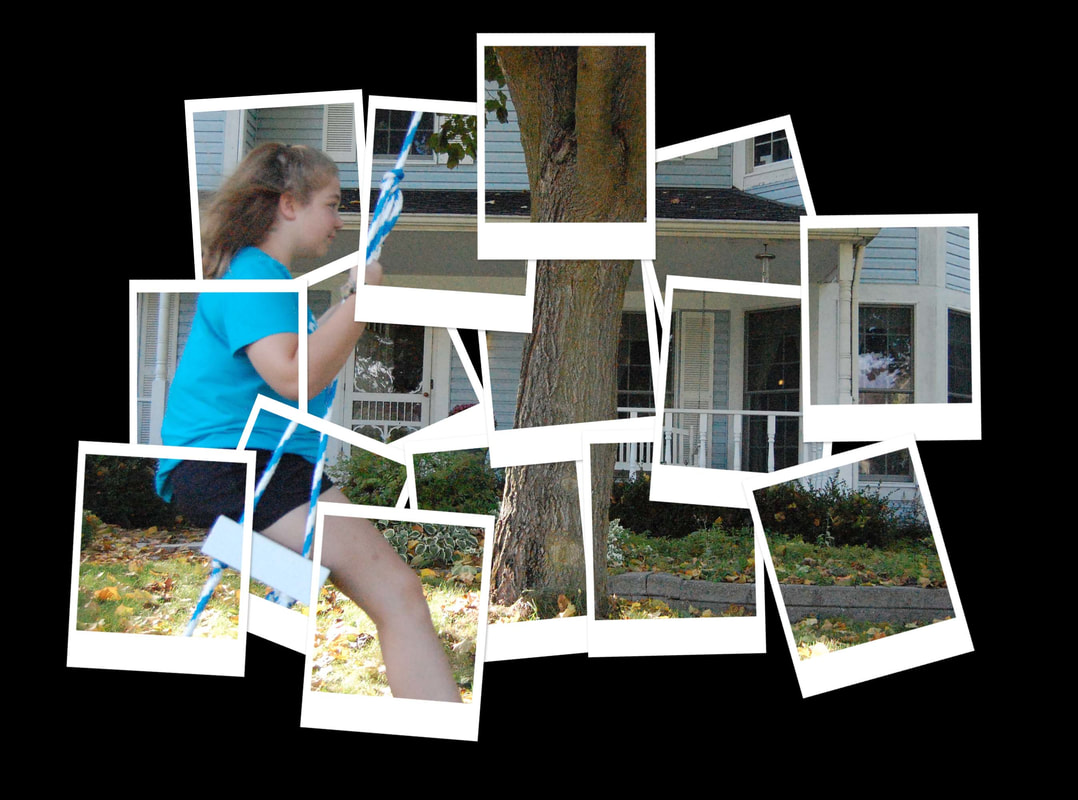 Here is the original picture: 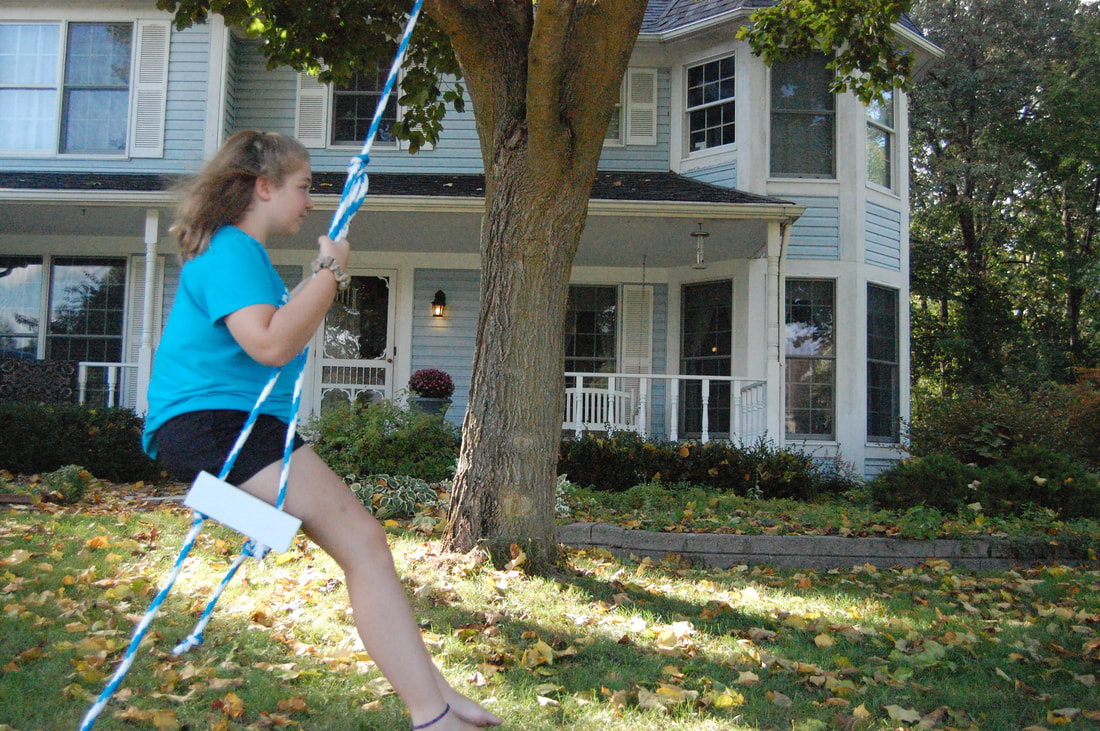 I used https://www.photoshopessentials.com/photo-effects/polaroids/ to complete this project. In this tutorial, we used clipping masks and fill colors to cover certain parts of the image and reveal other parts. This tutorial was a little confusing at first, but once I understood how to use the tools, it became much easier. The third photoshop tutorial I did I found on my own. Here is the link:https://www.picturecorrect.com/tips/how-to-edit-eyes-in-photoshop/ 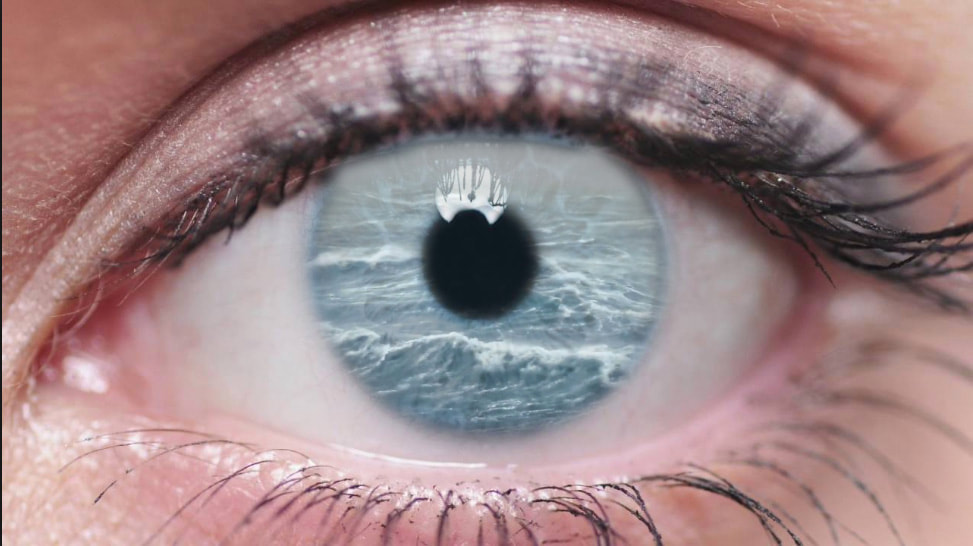 Here is the original photo: 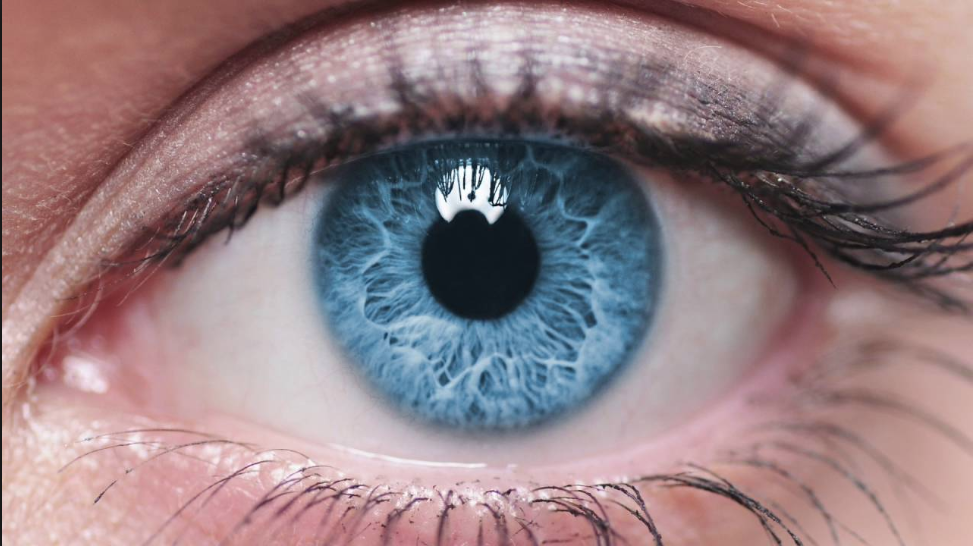 This tutorial was very easy because I'd used all the tools before. I used the select tool, special paste, and other specific photo adjustments to finish this project. I found it fun to replace every day things with unique textures. The next photoshop tutorial I did replaced the TV screen of an image with an athlete popping out of the screen. I found this tutorial on the list given to us. 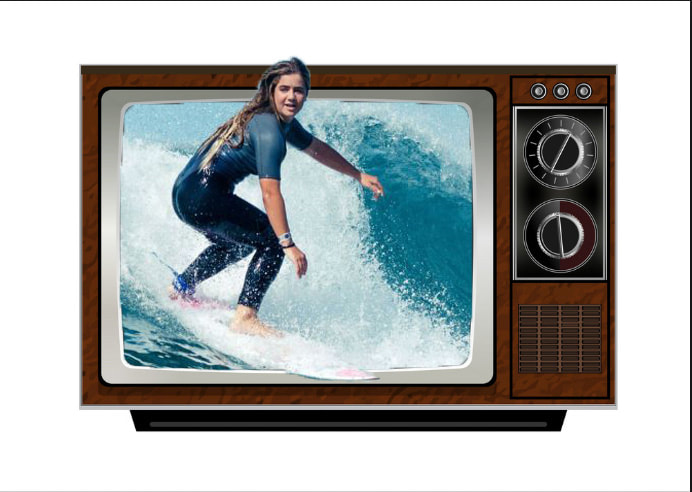 Here is the original photo that I added the layers on to:  This tutorial was mostly simple, with a few bumps along the way. I used special paste and the select tool, as well as clipping masks to complete this photoshop project. I enjoyed this tutorial as well because it felt more professional than the other tutorials did, as if you could use it in a travel brochure or something of the type. The next tutorial I completed was tuning an image so it looked like it was being reflected onto a body of water. I found this tutorial on the list given to us. 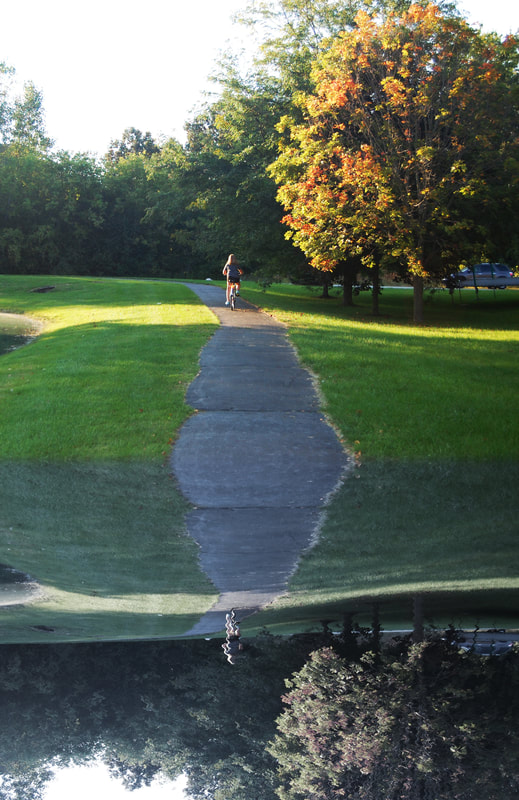 Here is the original photograph: 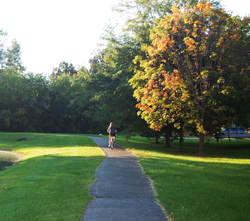 I had some difficulties with this tutorial's complicated layers at first, but they worked themselves out eventually. I used all of the tools that I'd learned how to use so far, like hue and saturation, crop, and fill colors, including some new ones. I enjoyed this tutorial as well, even though it was frustrating at the beginning. The final photoshop tutorial I completed was found at https://design.tutsplus.com/tutorials/how-to-create-a-realistic-autumn-leaves-text-effect-in-adobe-photoshop--cms-25158 . In this tutorial, I was given an image of asphalt, and told to lay leaves out in the shape of the word "fall". Here is the completed project: 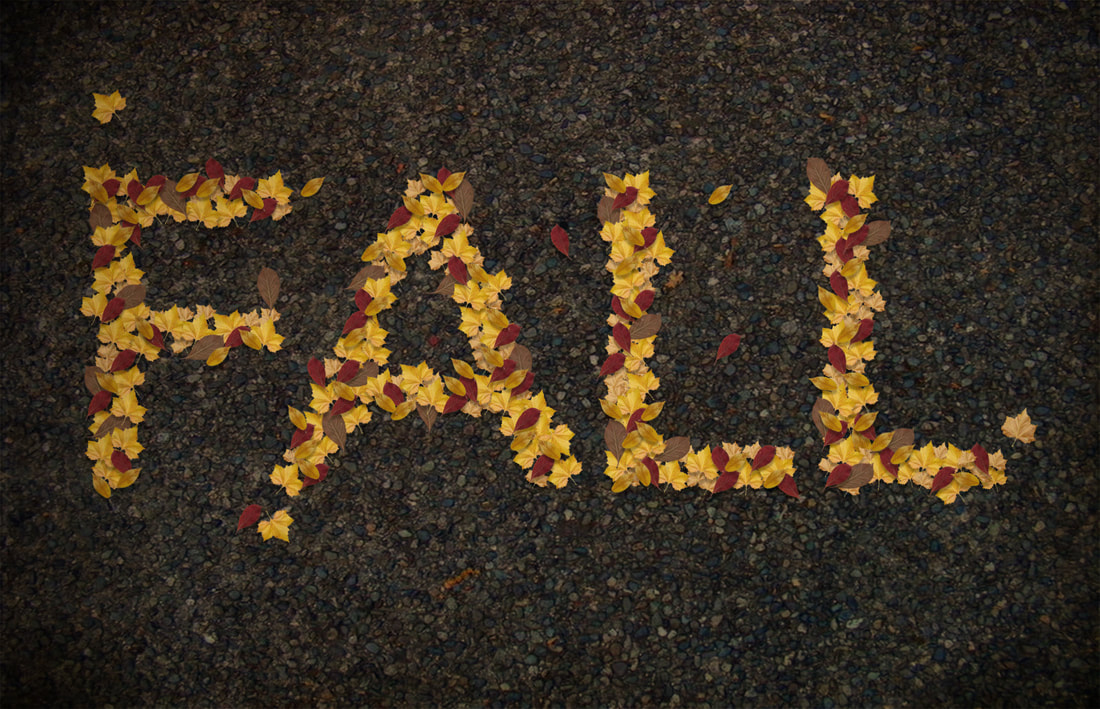 Here is the picture I began with: 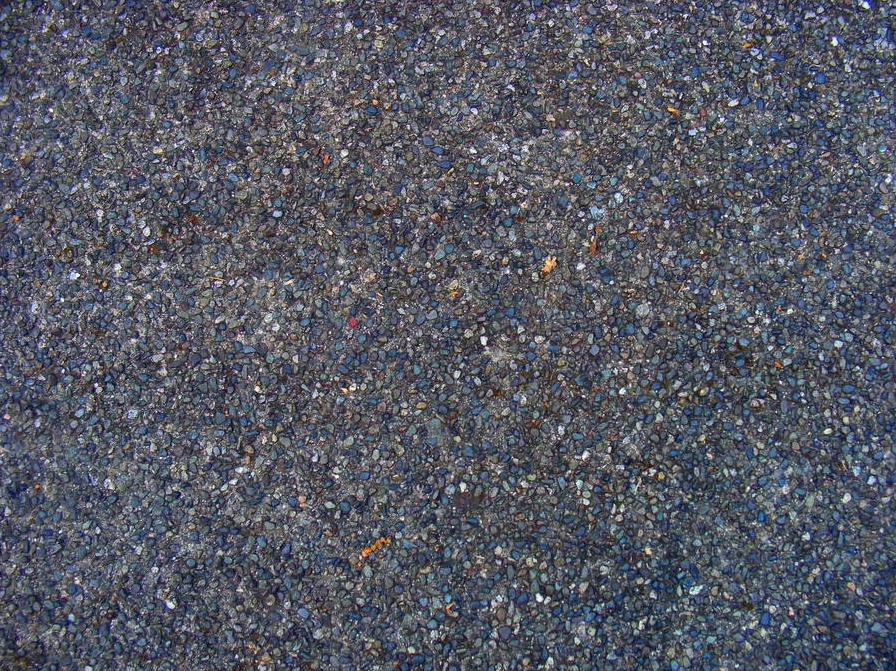 In this tutorial, I used crop, command T for sizing, duplicating shortcuts, the insert text tool, and many other new tools to complete my project. It was very time consuming, because I had to lay out individual leaves to form the letters. It was a fun project, though, and it taught me useful skills that I will be able to use in future photoshop compositions.
Overall, I enjoyed finding photoshop tutorials and creating new images based on the instructions. I learned about many tricks and shortcuts that will help me in the future when I am using photoshop.
0 Comments
Leave a Reply. |
AuthorHi! My name is Lily Cutler, and I'm a freshman at Saline High School. Archives
November 2018
Categories |
 RSS Feed
