|
In this assignment, we were supposed to take five different panoramas and then merge the photos in Adobe Photoshop. I had a lot of fun doing this assignment, and I learned how to position a camera on a tripod and how to overlap photos correctly when taking a picture to correctly create a panorama. Here are my best two panoramas, followed by my other three:  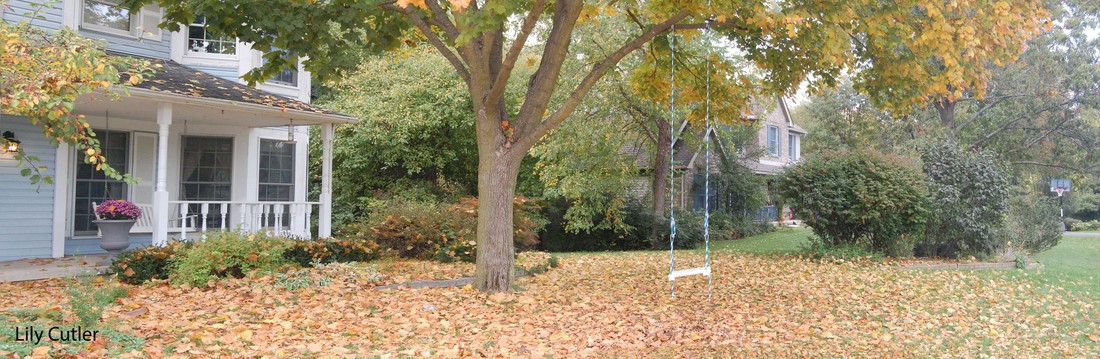 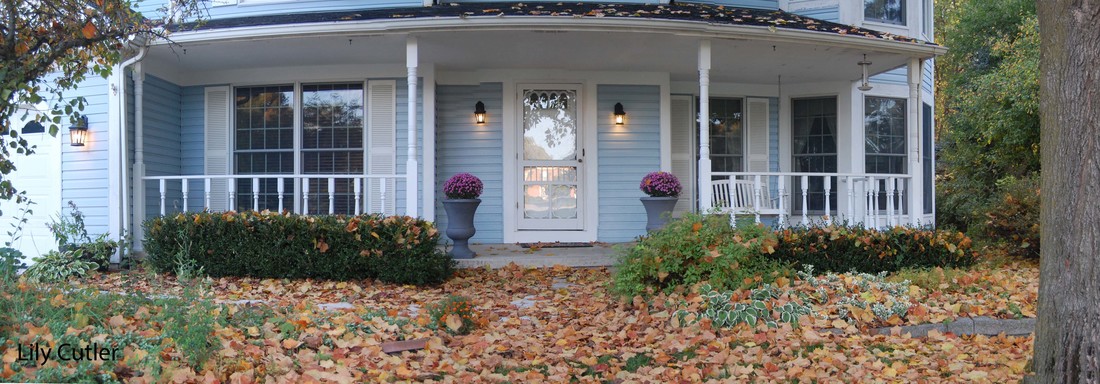 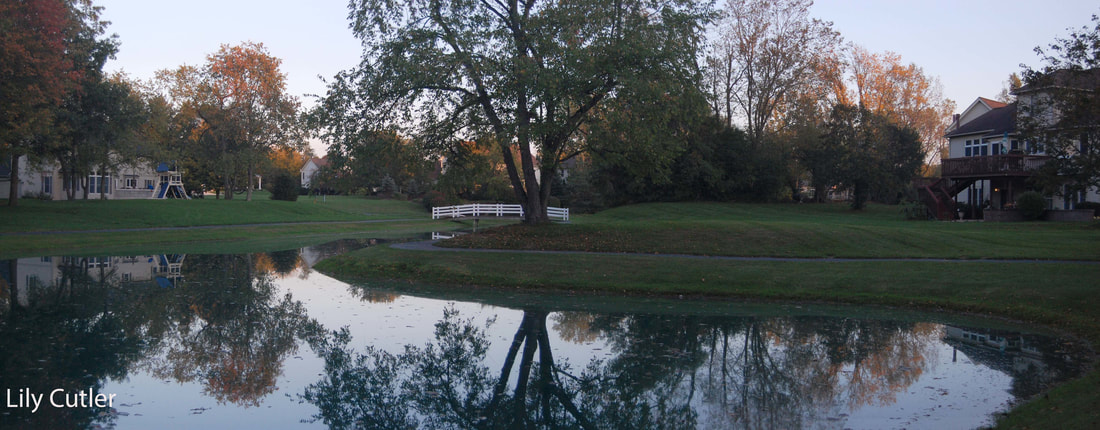 
0 Comments
For my second photography assignment, I took photographs of architecture around downtown Saline. I had a difficult time with this assignment because the weather was not the best this weekend, and my previous plans for my pictures didn't work out. However, I made the best out of the dreary lighting and took pictures of the old churches and restaurants downtown. Through this photo shoot, I learned that the lighting in a picture is very important to the overall feel of the photograph. Without proper lighting, the image's intended "look" cannot be properly reached. Here is my best photo: 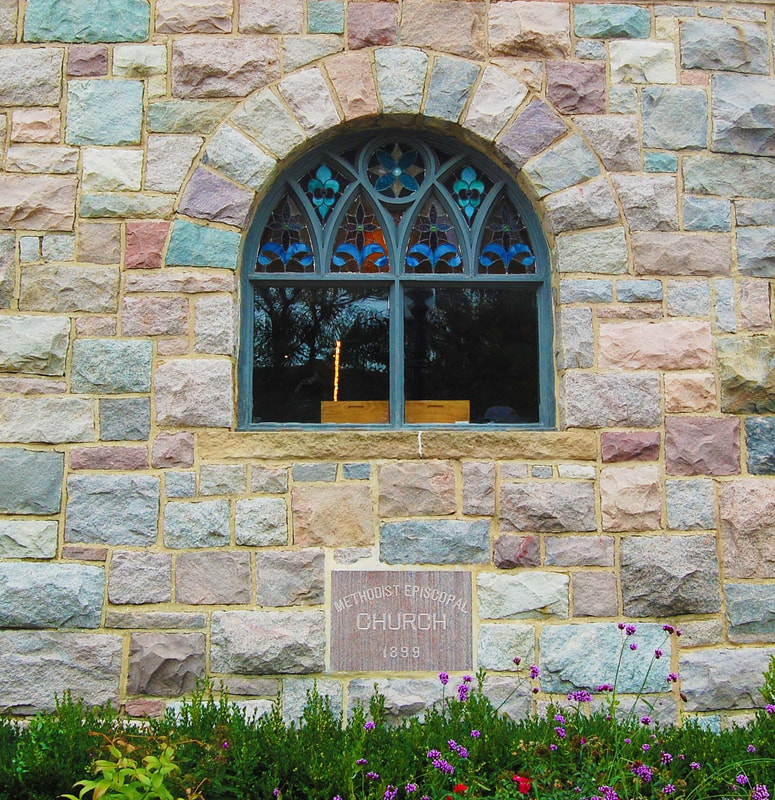 This photo was shot with an aperture of f/9.0, a shutter speed of 1/100 of a second, and an ISO of 400. I edited the contrast and brightness of this image because the lighting was too dark in the original. I also cropped the picture because there was some extra subjects in the image that drew the attention from the window, flowers, and plaque. Here are my next best 9 photos: For my second photography assignment, I will be taking pictures of architecture, specifically in libraries. While completing this photo project, I hope to find interesting patterns and unique aspects in the buildings around me and to become a better photographer because of it. Here are a few pictures of architecture that inspired me: 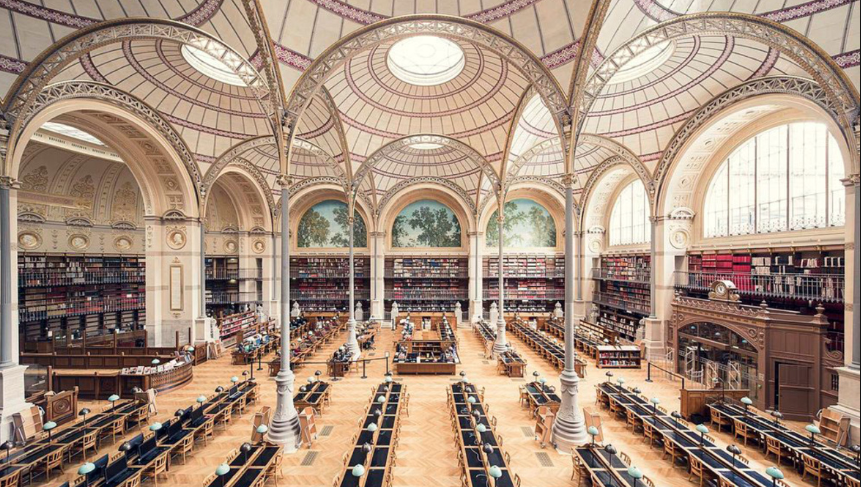 https://fstoppers.com/architecture/photographer-travels-europe-document-most-breathtaking-libraries-179938 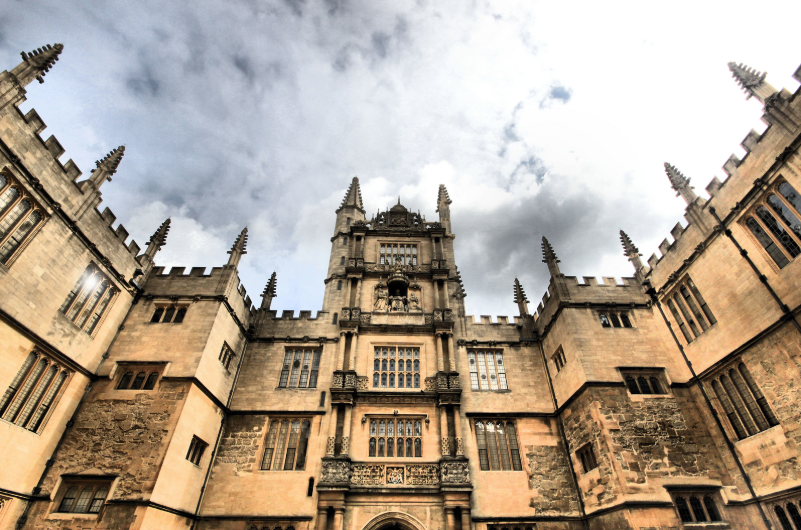 http://www.snaposnap.com/10-extremely-brilliant-tips-remarkable-architectural-photography/ 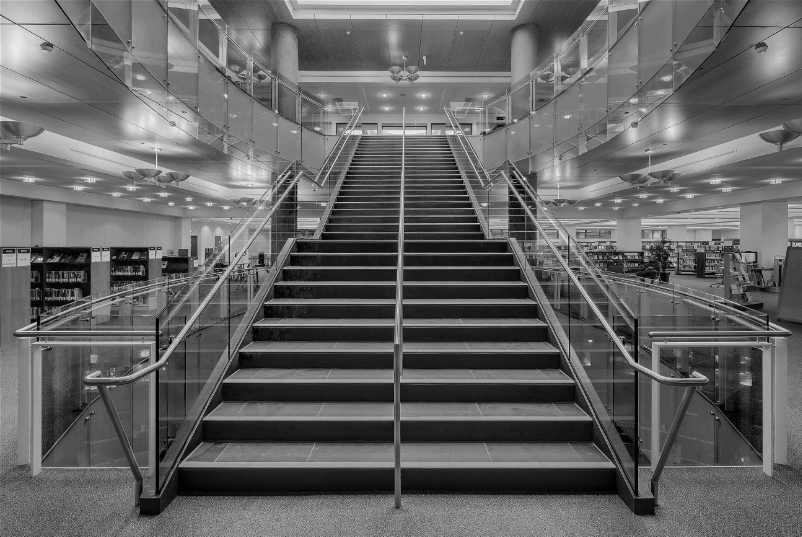 https://scottwebb.me/lpl-revitalization/
In this assignment, we were supposed to use basic tools in photoshop to edit a picture of a car and a picture of our choice. We were given two versions of a photograph of the car. The first version was the "before" photo, and the second photo was an example of what the picture should look like after we finish editing it with photoshop. Here is the before image of the car:  Here is the example edited photograph: 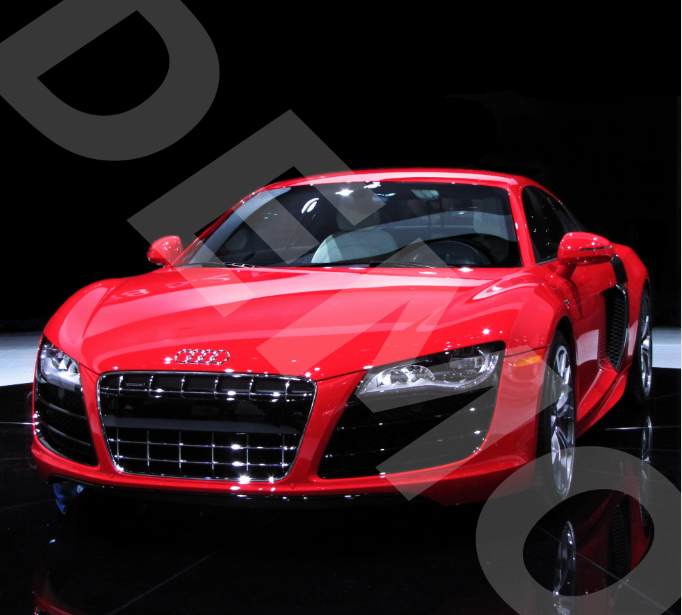 This is my edited photograph: 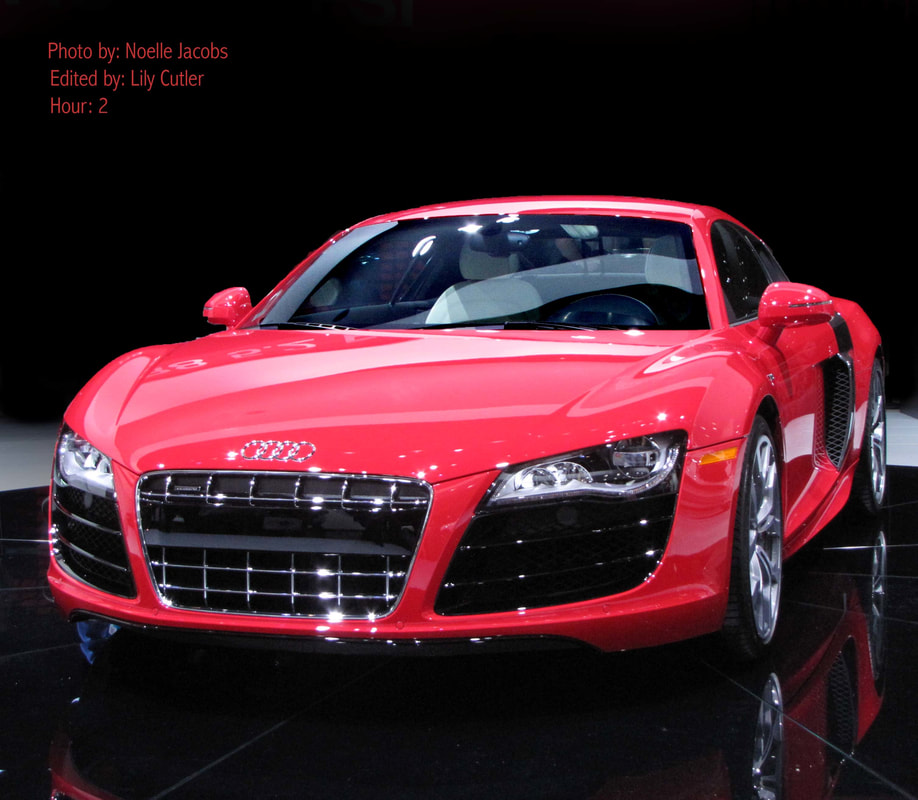 This is the photo I chose to edit:  And here is the retouched version I edited:  Through this assignment, I learned how to use the clone tool to erase unwanted blemishes in a photo. I also learned how to select certain aspects of a image and edit just that part of the picture or inverse the selection and edit around the photo. In future photography assignments, I will be able to edit specific parts in my pictures instead of just coping with them. For this week's photo assignment, I decided to try still life photography. I wanted to capture things that are found on desks in a darker lighting. I tried multiple subjects, but the photographs of the drawing figurine turned out the best. It was difficult to get the proper lighting and positioning, especially because I was trying to use manual aperture and shutter speed to get the correct focus and exposure. I learned that it is important to try taking pictures on multiple settings and in different positions because you will eventually find the correct camera set up specifically for your subject. Here is my best photo:  I shot this with an aperture of 3.8, a shutter speed of 1/15 of a second, and an ISO of 800. In photoshop, I edited the contrast to give the photo a warmer look. Here are my next 5 best photos: In this assignment, we were given the task to take an image of ourselves and use photoshop to alter the color and placement of the photo to make it look like pop art. In doing this, we learned a little more about how to navigate and use photoshop. Here is the original photo I was working with: 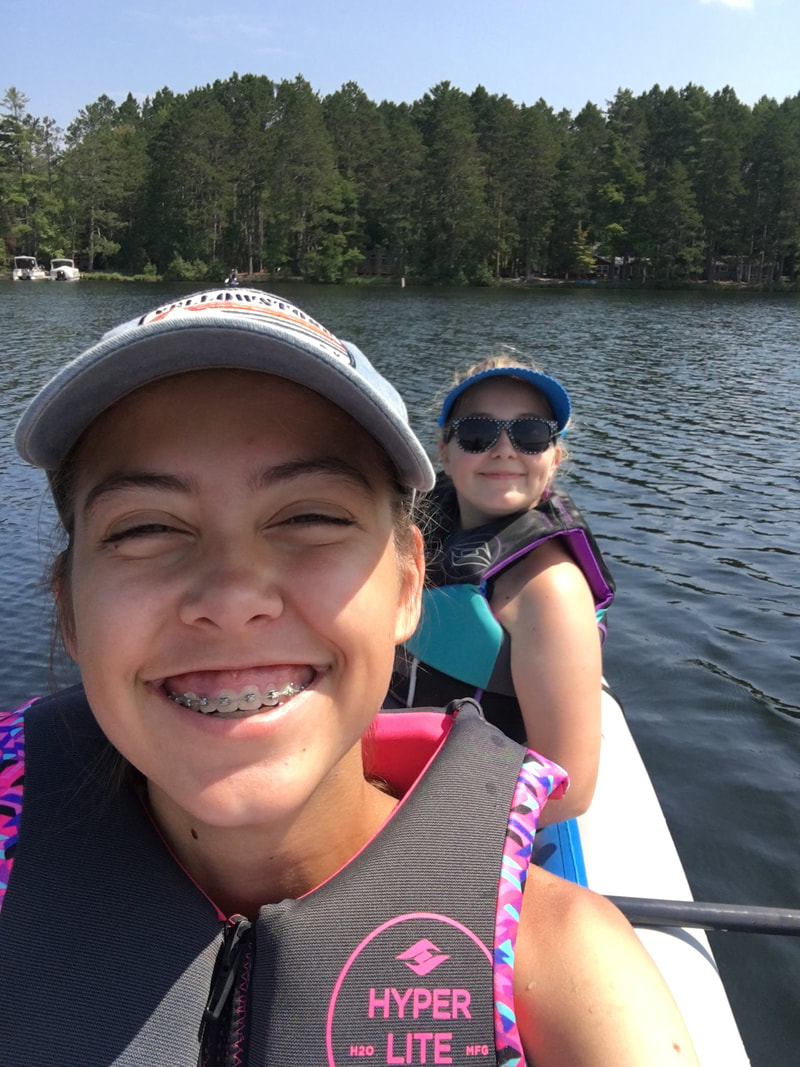 Here is the final product: 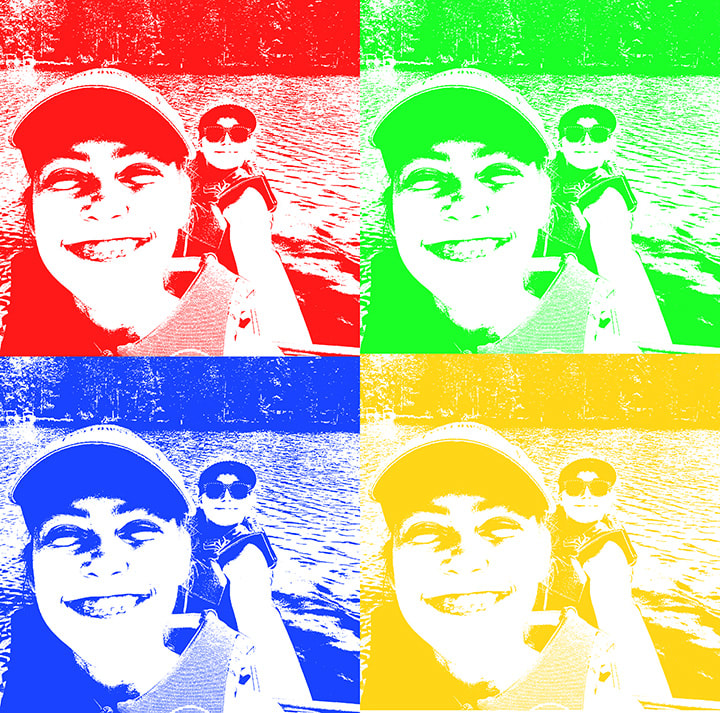 Here is another piece of pop art that I created: 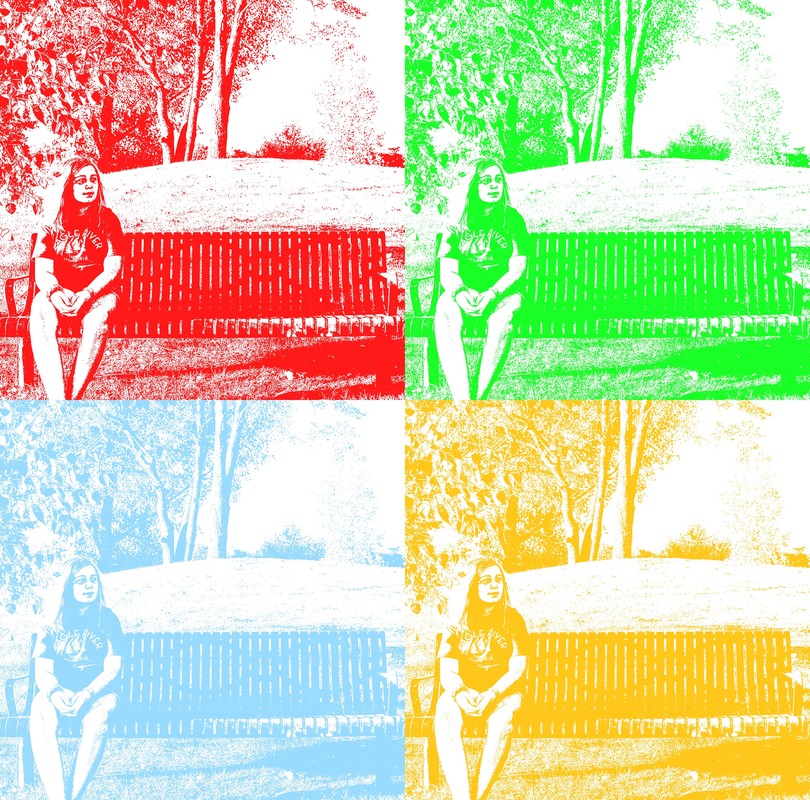 While doing this assignment, I learned shortcuts to do basic functions, like copying and pasting, that make it easier to do simple tasks. Later, knowing these shortcuts will help me adjust my photos quickly and easily. I also learned how to move layers of the same photo in photoshop to adjust the photo multiple times. I know that I will be moving layers many more times in this course and this introduction will be very helpful. Shutter Speed:1. 1/10 shutter speed: 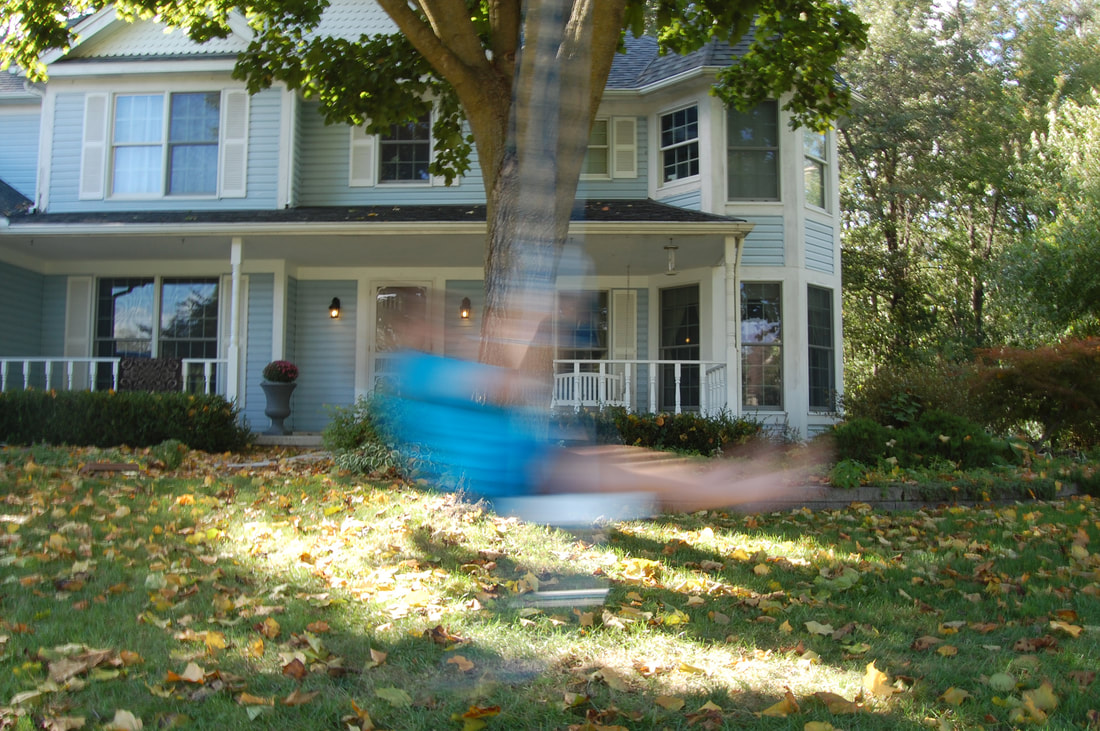 2. 1/80 shutter speed: 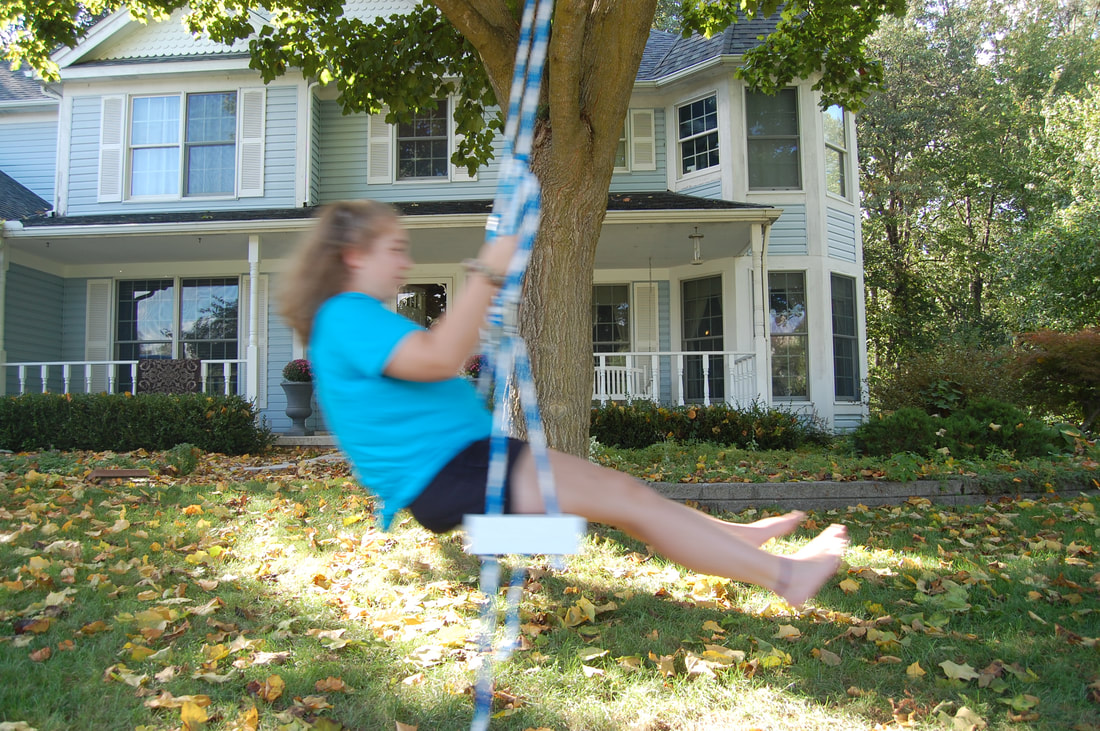 3. 1/500 shutter speed: 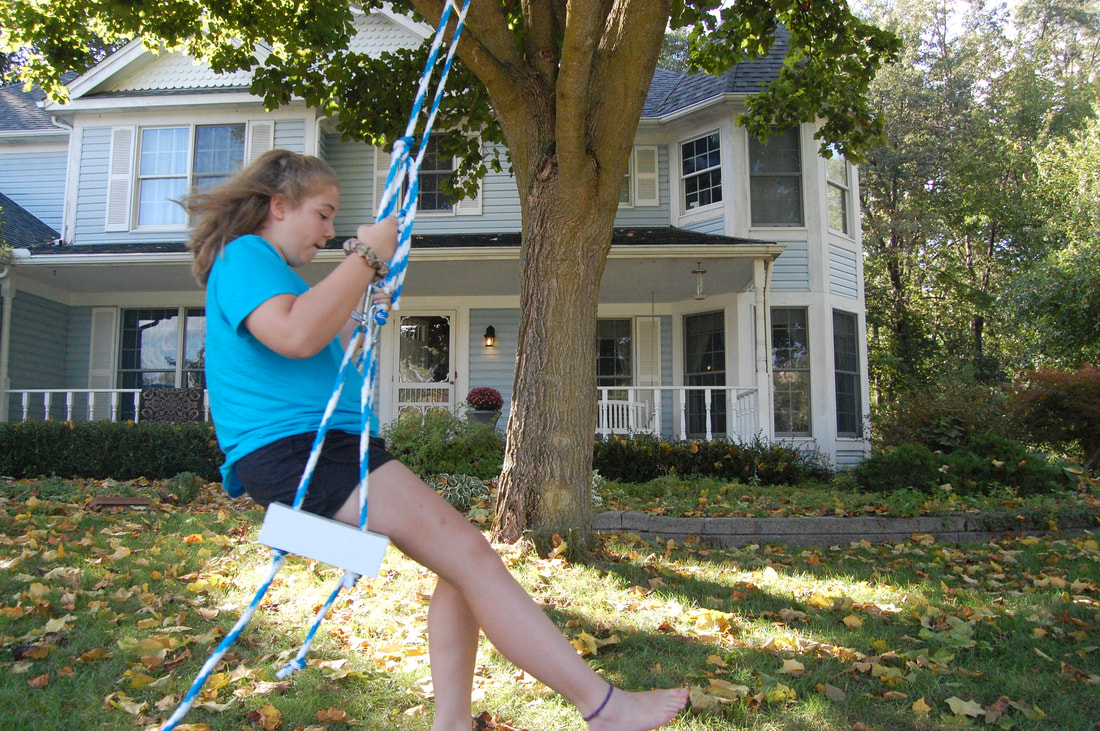 4. 1/1600 shutter speed: 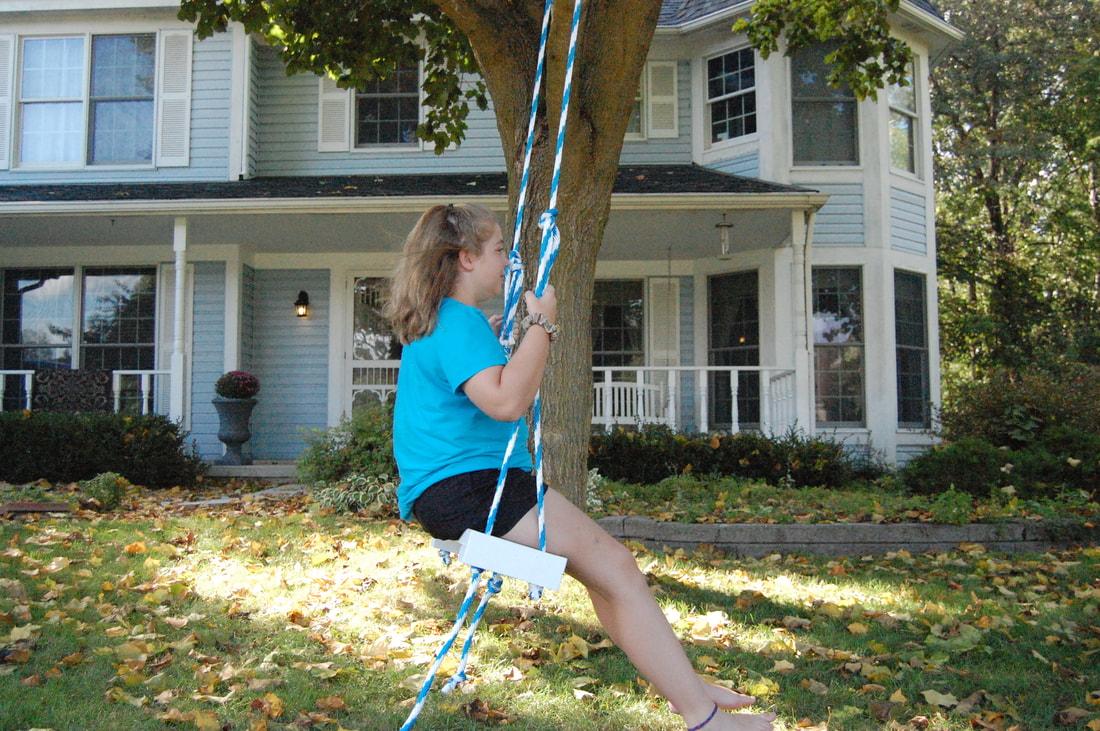 I took pictures of my sister swinging to clearly portray how longer shutter speeds make the image blurry and higher shutter speeds make the image sharper. In the first photo, with 1/10 of a second shutter speed, Madeline's motion is blurred. In the final photo, with 1/1600 of a second shutter speed, she is much sharper and her motion is frozen. Aperture:1. f/5.3: 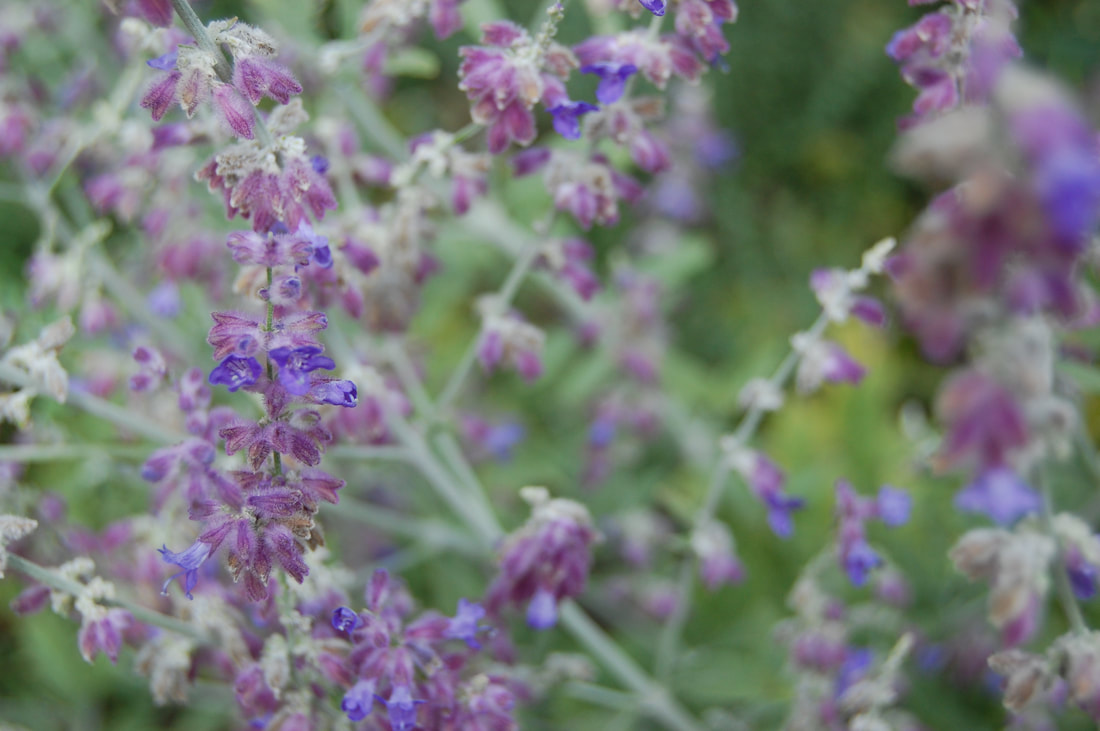 2. f/8: 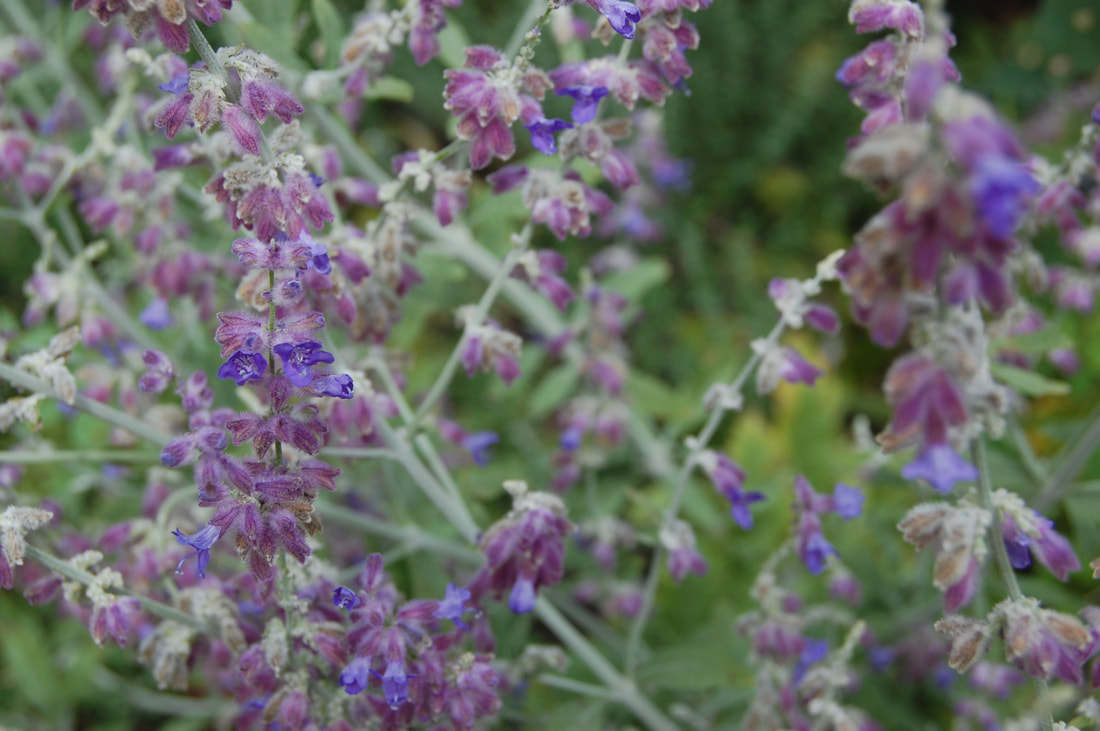 3. f/11: 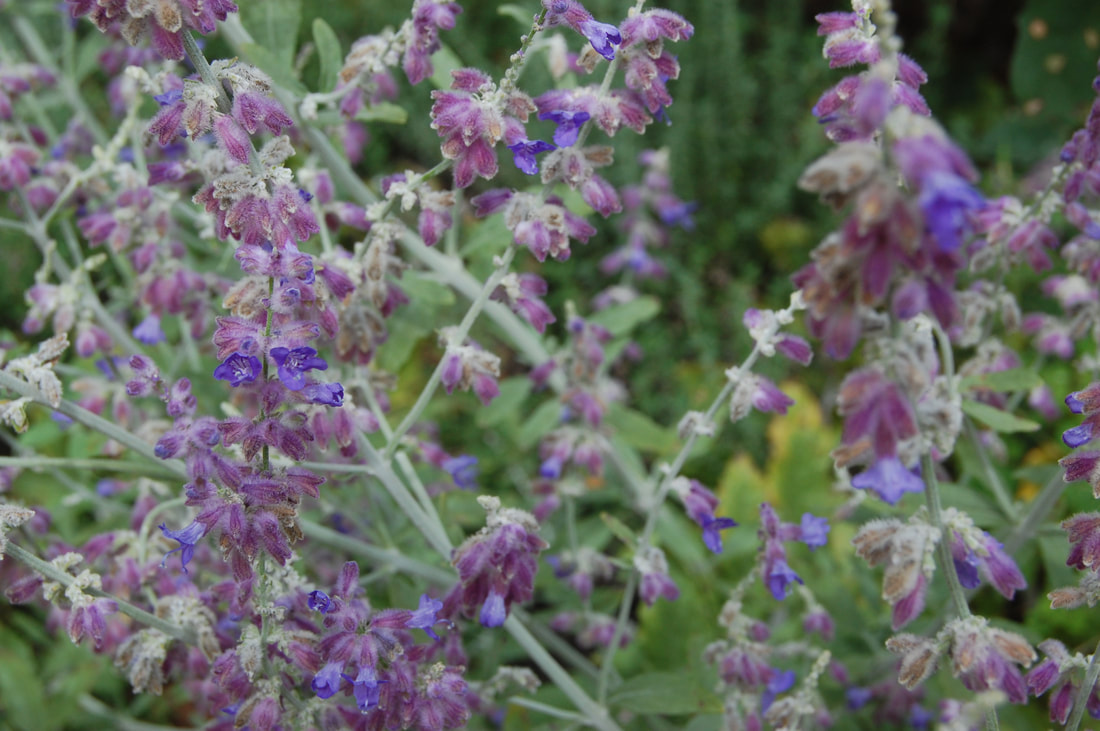 4. f/20: 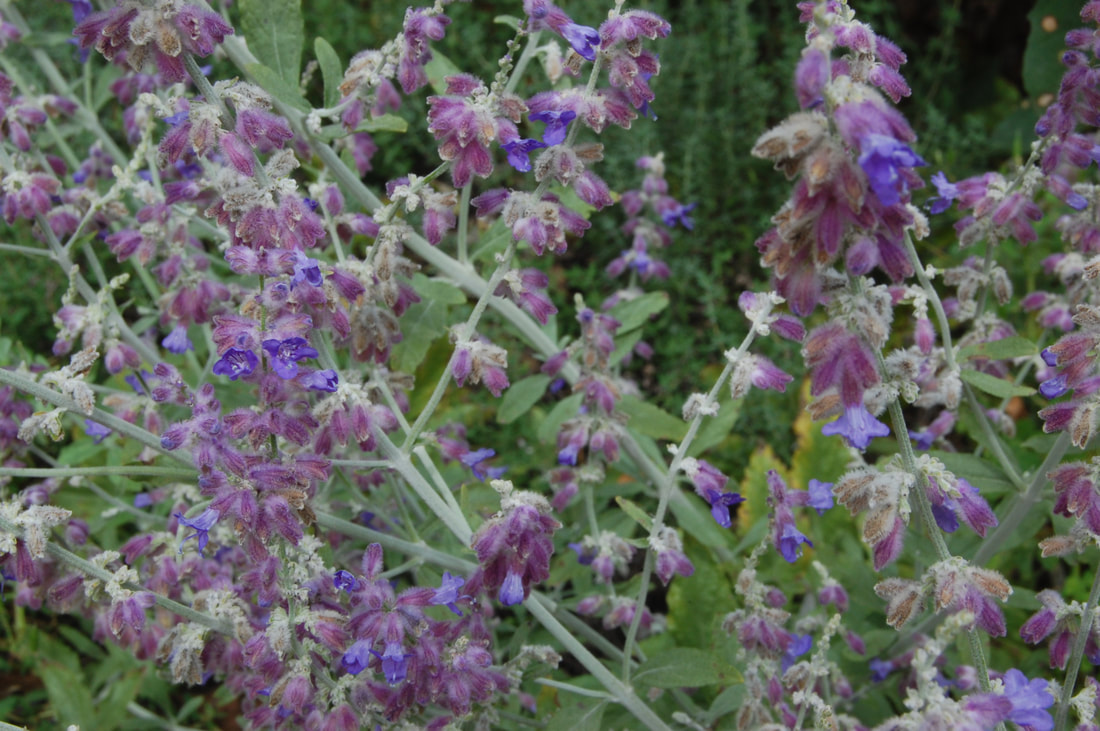 I took pictures of these flowers to show how aperture affects depth of field, as well as the exposure of the image. The first photo, with an aperture of 5.3, is bright and the background is blurry. The last photo, with an aperture of 20, is darker and the background is much more in focus than the previous ones. These photos show that the smaller aperture numbers increase the exposure of the image and decrease the depth of field and that the larger aperture numbers decrease the exposure of the image and increase the depth of filed.
A fast shutter speed freezes motion in the photograph and makes the image darker. A slow shutter speed blurs motion and exposes the image more, making the picture brighter. A small aperture blurs the background of the photo and makes the image brighter, while a larger aperture makes the image darker and the background more in focus. For my first shooting assignment, I am going to take pictures portraying still life on top of a desk. In doing this, I hope to become more intentional when I'm taking photos, because still life needs to be carefully planned and set up. Here are a few photographs that inspired me: 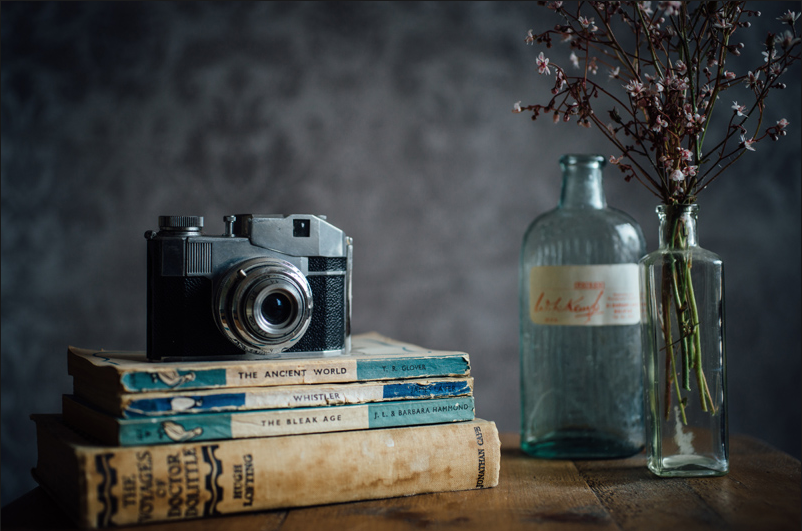 https://definitelydreaming.com/vintage-books-use/ 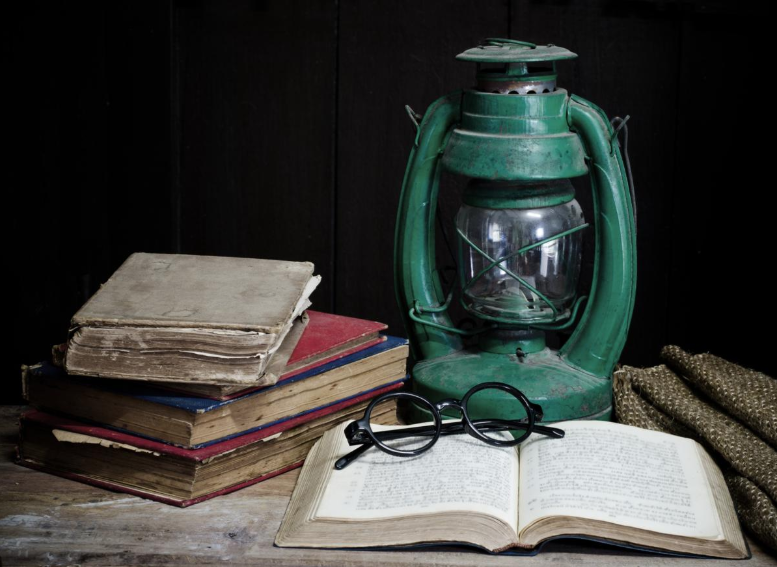 https://photografeed.com/still-life-photography 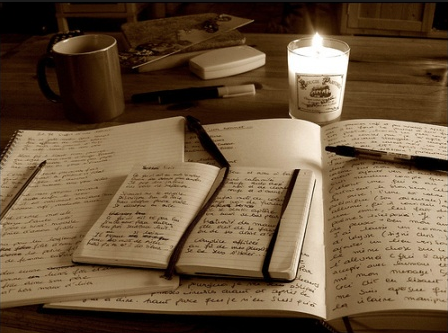 https://timgatewood.wordpress.com/2015/10/01/12-advantages-of-keeping-a-journal/
I think these are good examples of still life that would be on a desk. The books and lamps are placed so that they are pleasing to the eye. I am planning to set up what my desk at home with books, journals, and writing utensils so that they are also aesthetically pleasing. In this assignment, we were tasked to read and take notes about different elements of photographic composition and then go and take photographs as examples proving that we understood what the different types of composition were. Here are my photographs:  Rule of Thirds: Madeline, my sister, sitting on a bench in our neighborhood. 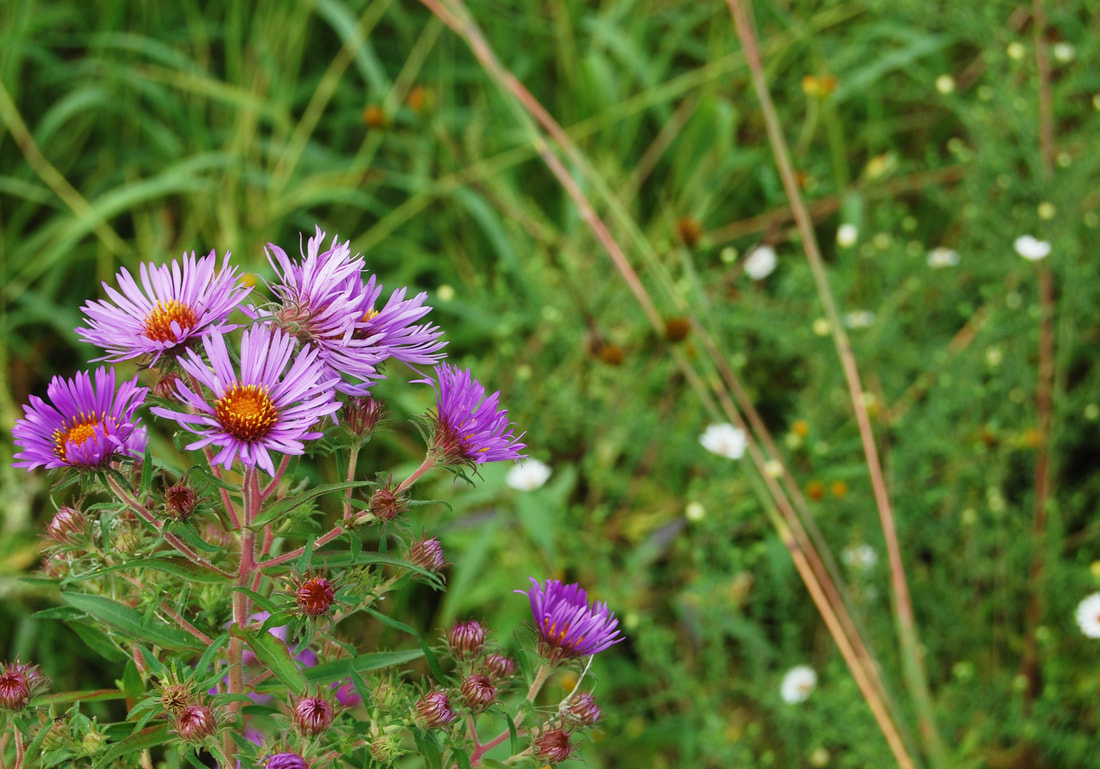 Depth of Field: Flowers in front of more prairie grass and daisies. 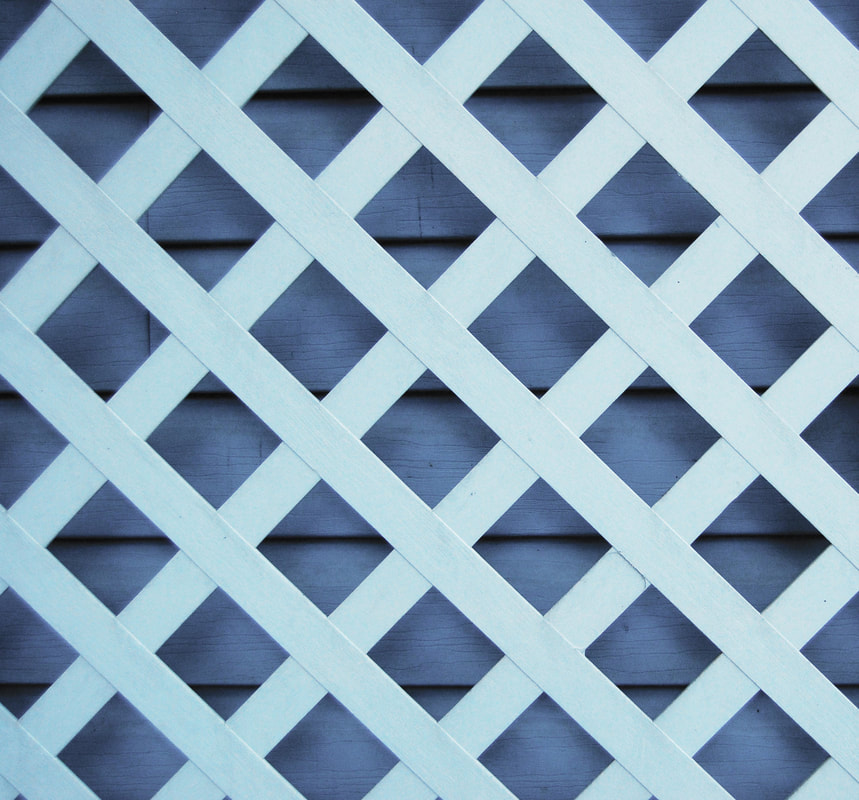 Patterns and Repetition: The lattice in front of the blue siding of my house. 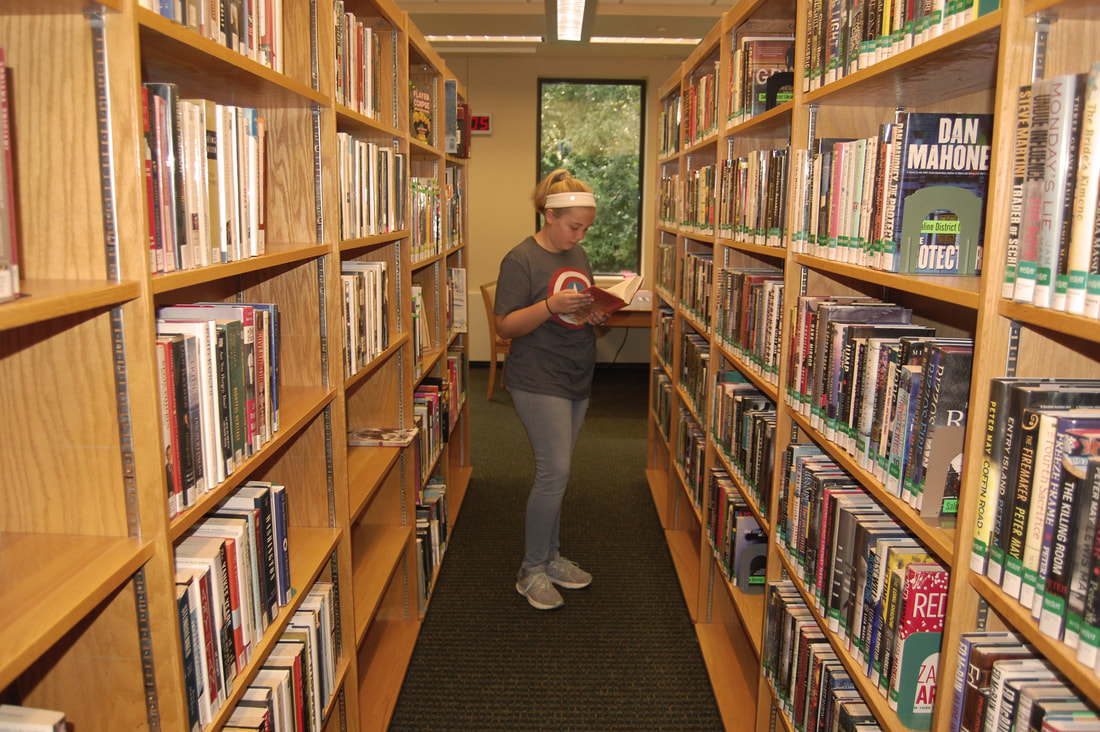 Framing: My sister in between the bookshelves of the Saline District Library. 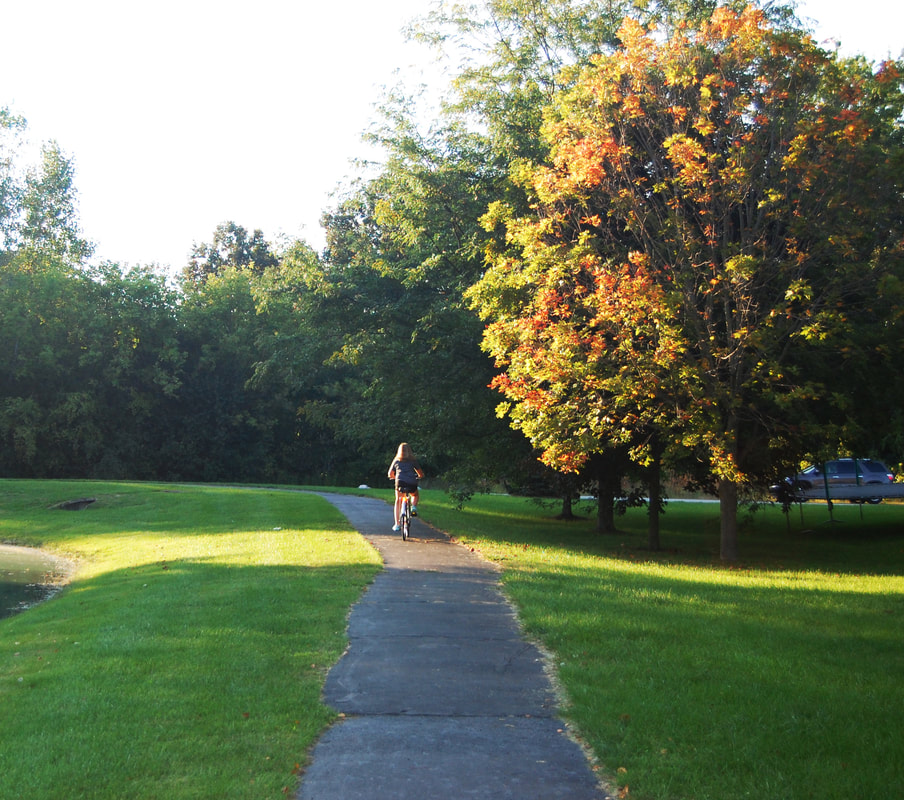 Lines: I used the path around the pond in my neighborhood to lead up to Madeline riding her bike.  Perspective 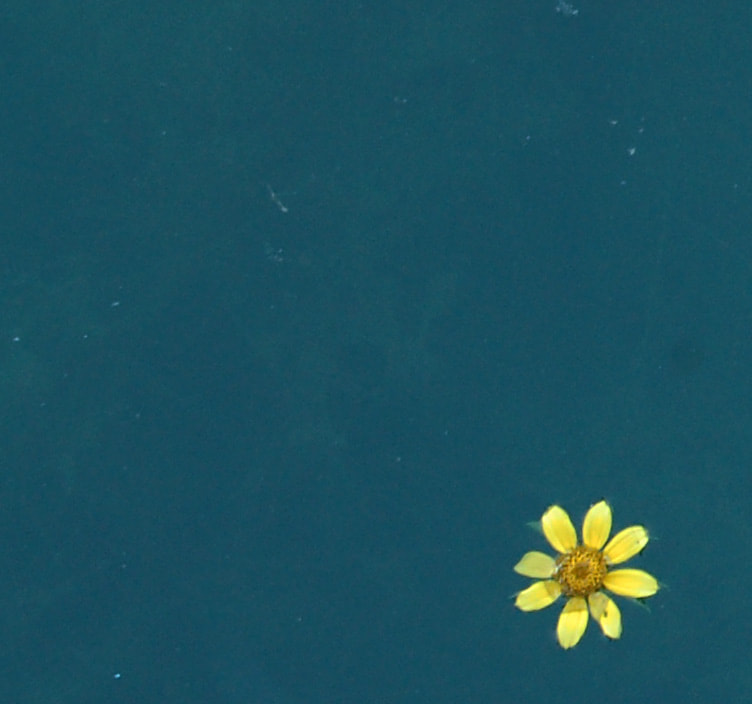 Space: A flower floating on the pond. 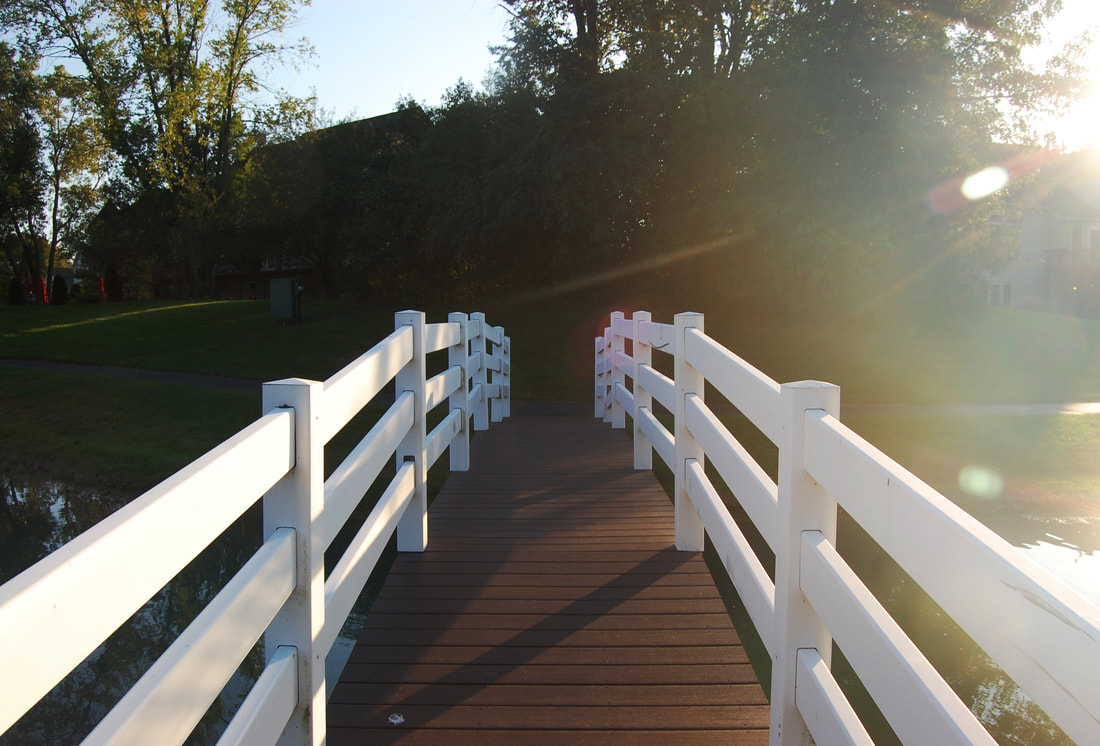 Symmetry: A bridge over the pond. 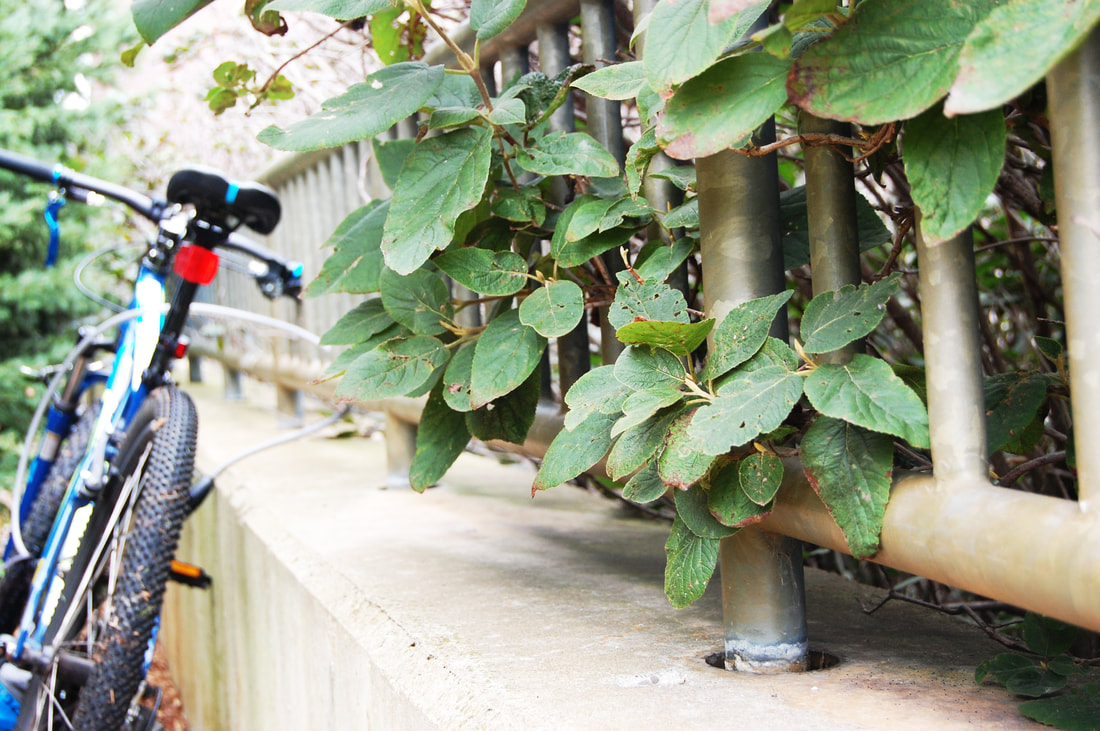 Balance: I took this picture for depth of field originally, but the two subjects in the frame made me decide that it was better for balance because the two subjects are on opposite sides of the photo, making it seem balanced. 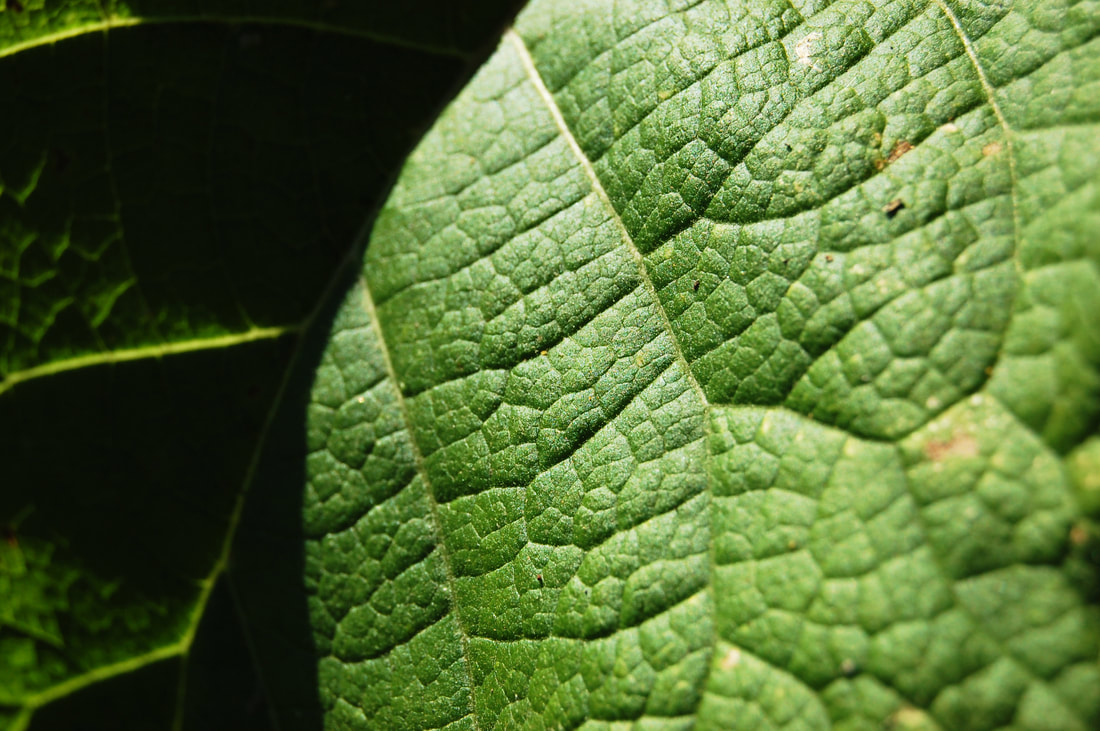 Texture: A leaf in the sun. 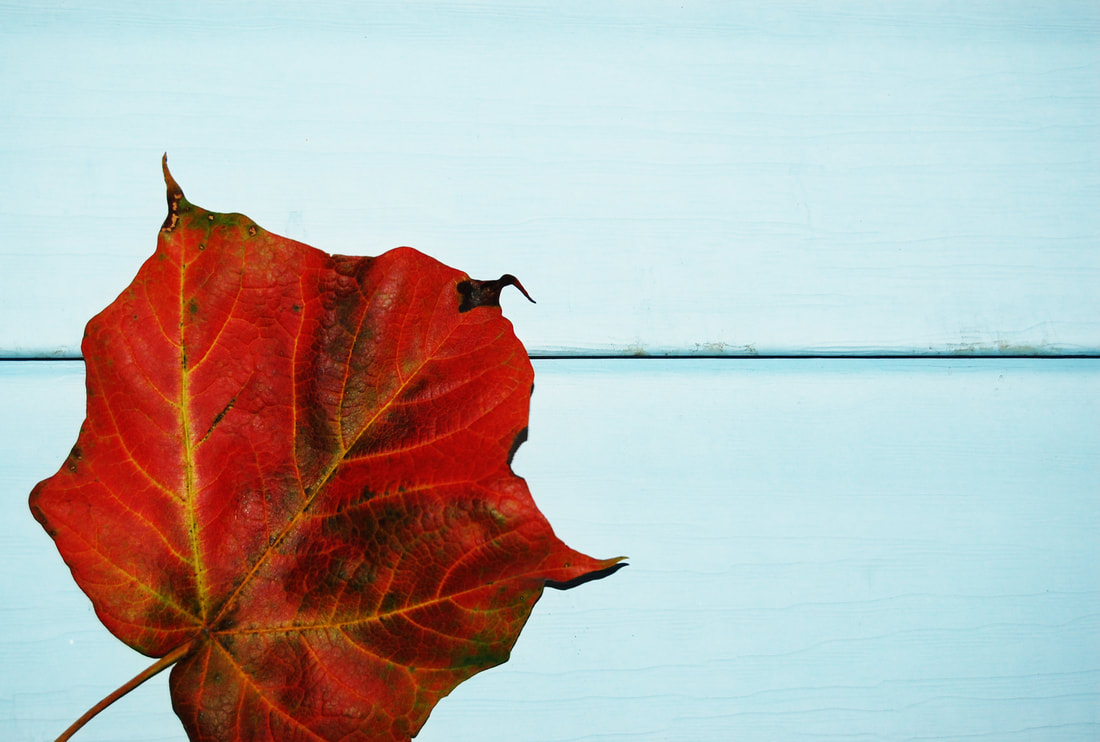 Color: A leaf against the siding of my house.
While doing this project, I learned that it is important to look for small details around you, because you never know when an everyday thing could make a good photograph. I also learned that it is important to take pictures from multiple perspectives because the subject may look better from another angle. Hello! My name is Lily Cutler. I like to travel with my family and our dog, Lucy. I also like to bike or roller blade outside when I don't have any homework to do. After school, I usually read or take dance classes. I took this Digital Photography class because I was interested in doing something that I hadn't done before. The only experience I've ever had with digital photography is when I took a photography class at Yellowstone National Park with my family. I learned a lot about the basics of taking a good photograph, not just a picture.  This is me and my family(I'm the second from the left.).
|
AuthorHi! My name is Lily Cutler, and I'm a freshman at Saline High School. Archives
November 2018
Categories |
 RSS Feed
